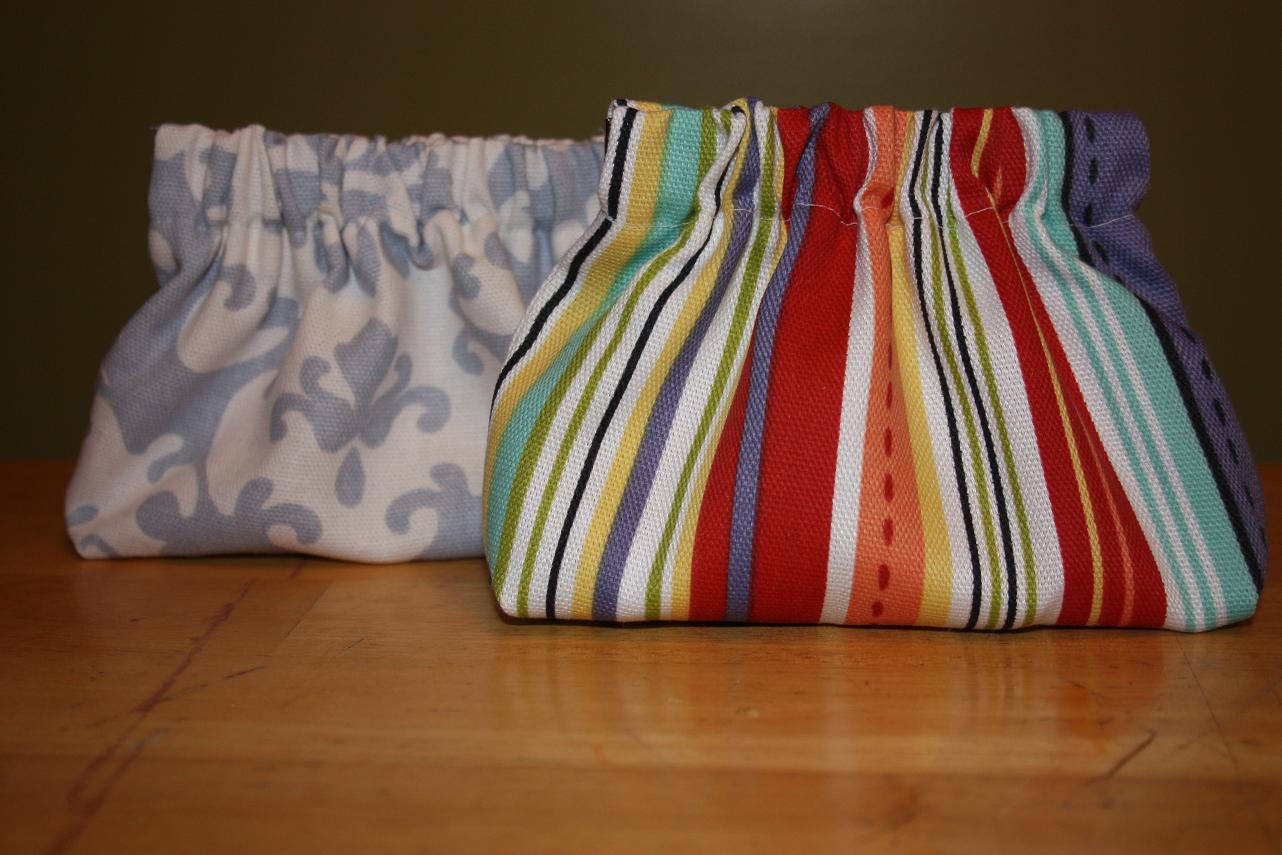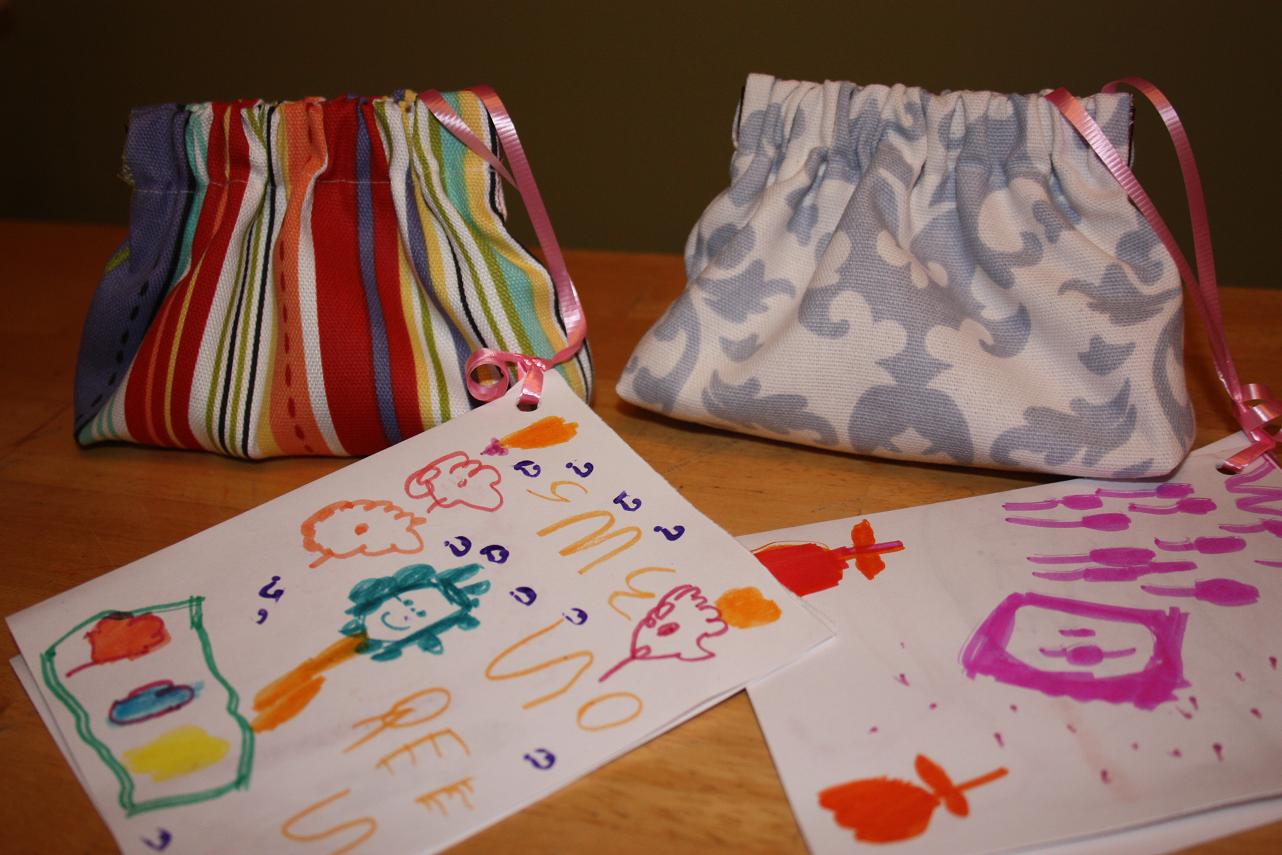
So here it is -- The Making of A (cube-shaped, handled, hook-and-loop closure, holds approx. 4 lbs. of beans, super easy) Doorstop. Can you stand the excitement?
***********************************************************************************
The Making of a Doorstop
This is my first attempt at creating a tutorial by which others are supposed to produce something recognizable. Please, feel free to offer critical feedback if you find yourself cursing me during the wee hours of the night. The tutorial assumes the doorstop is made using only one fabric per doorstop. Obviously, this project is going to be so much fun, you’ll be making doorstops for everyone you know, and you can be ambitious and use different coordinating prints on opposing sides, handles, whatever. Go crazy. For now, we’ll simplify.
Materials:
Upholstery weight/Home décor fabric (denim, twill, or corduroy would work too)
Approx. 3” strip of sew-in hook-and-loop closure (ahem, elcro-Vay)
Coordinating thread
Measuring tape or ruler
Not necessary, but helpful:
Rotary cutter and mat
Pinking Shears
Fabric marking pen
Large, cold, adult beverage
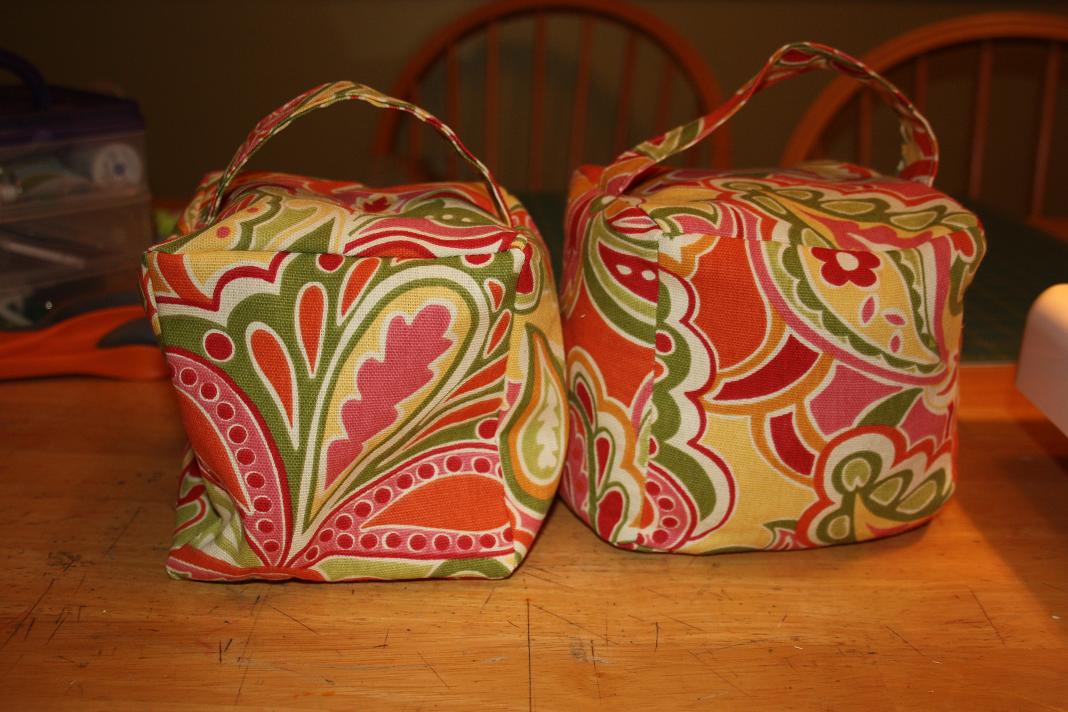
Here’s what we’re making!

The doorstop is a simple cube shape. The bottom has an overlapping opening with velcro closure and the top has a sewn in handle. That’s it. Easy, right? We’ll see.
Instructions:
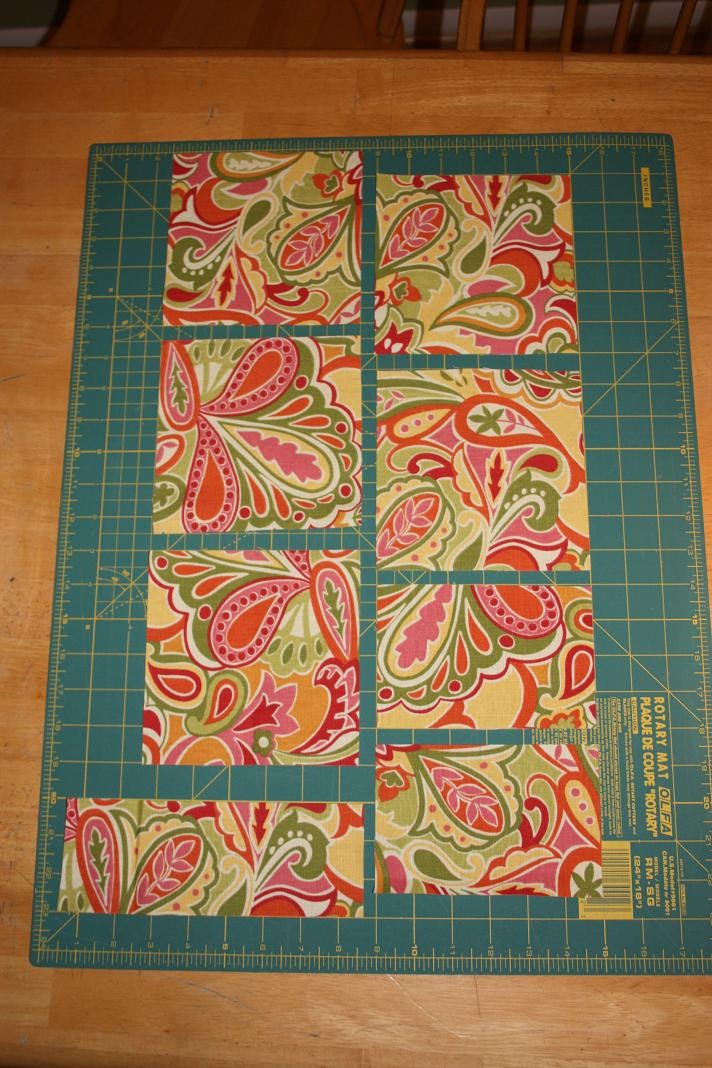
Using a rotary cutter, cut the following from your chosen fabric:
5 -- 6”x 6” squares (top and sides of cube)
2 -- 4”x 6” rectangles (bottom of cube)
1 -- 3”x 8” rectangle (handle)
Step 2:
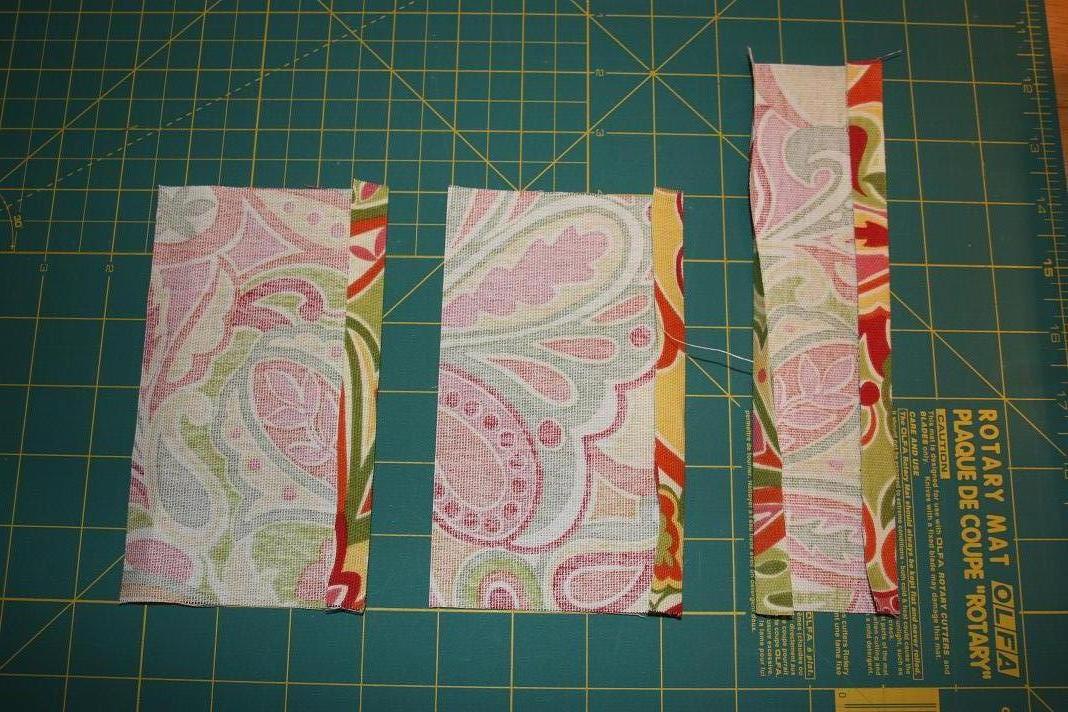
Start with the two bottom pieces and handle. Press with an iron or “finger press” (I love terms that lend validity to my laziness) ½” along the two long sides of the handle and along one long side of each bottom piece.
Step 3:
Begin with one of the bottom pieces. Using your machine, stitch approx 3/8” in from the (now folded) edge to secure the raw edge.
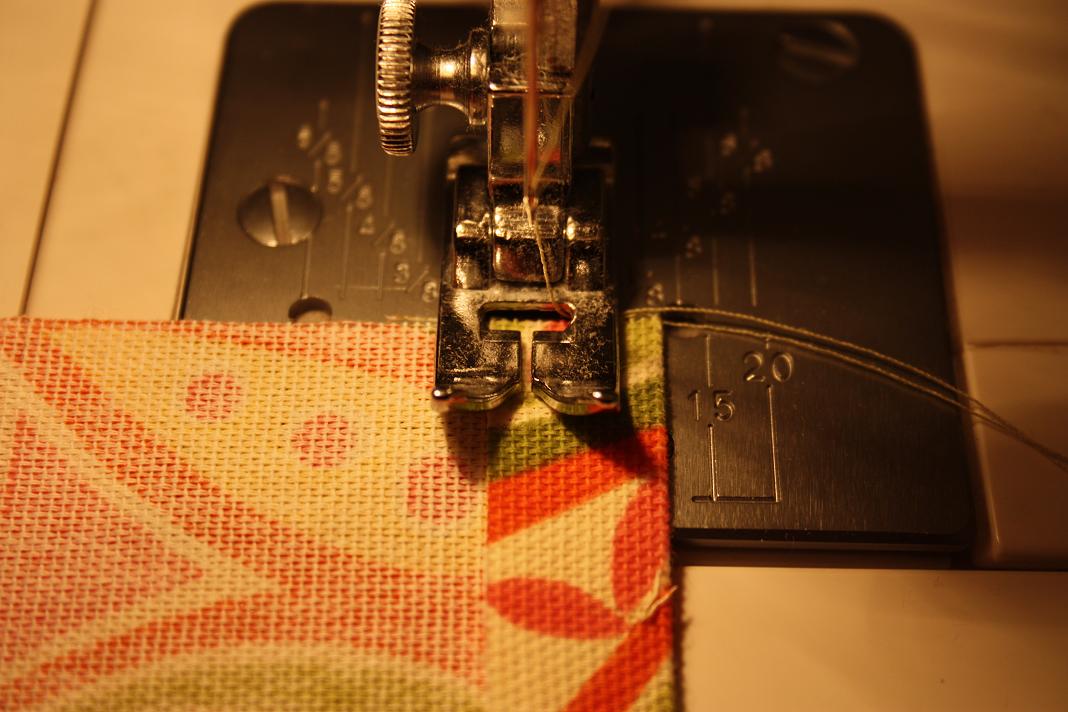

Repeat with the second bottom piece.
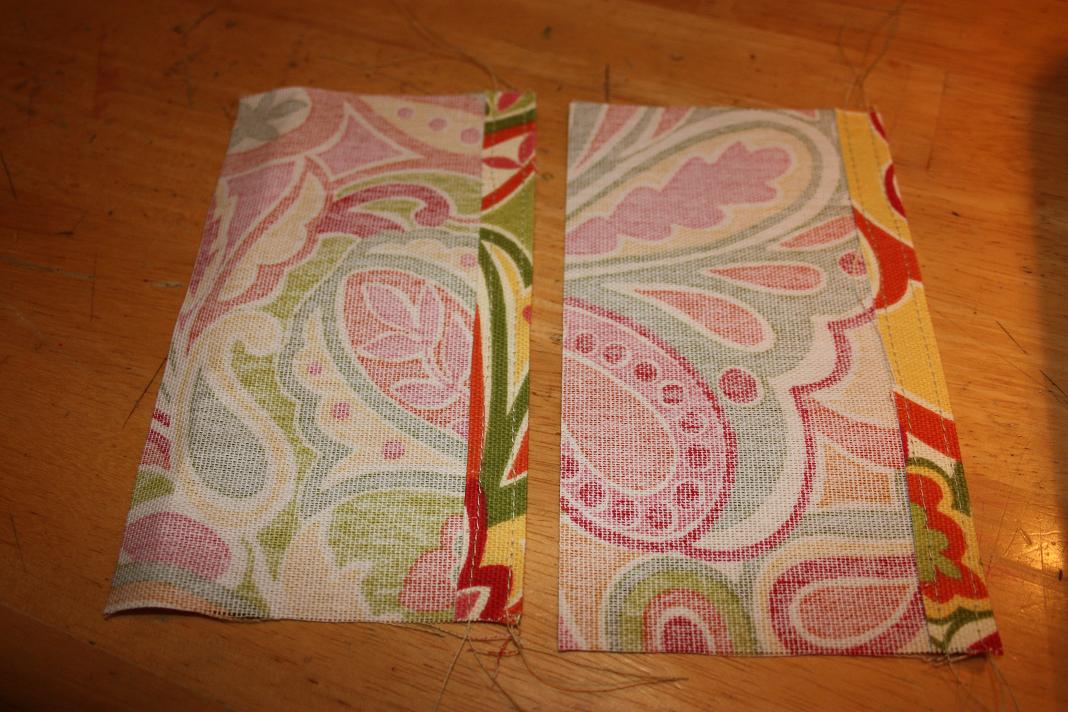
Now we’ll add the Velcro. Lay the bottom pieces out, long finished edges together with the one piece right-side up and the other, wrong-side up. Pin one half of 3” strip of velcro along the finished edge of one bottom piece, about 1/8” to ¼” from the finished edge. Repeat with remaining strip of velcro and remaining bottom piece.
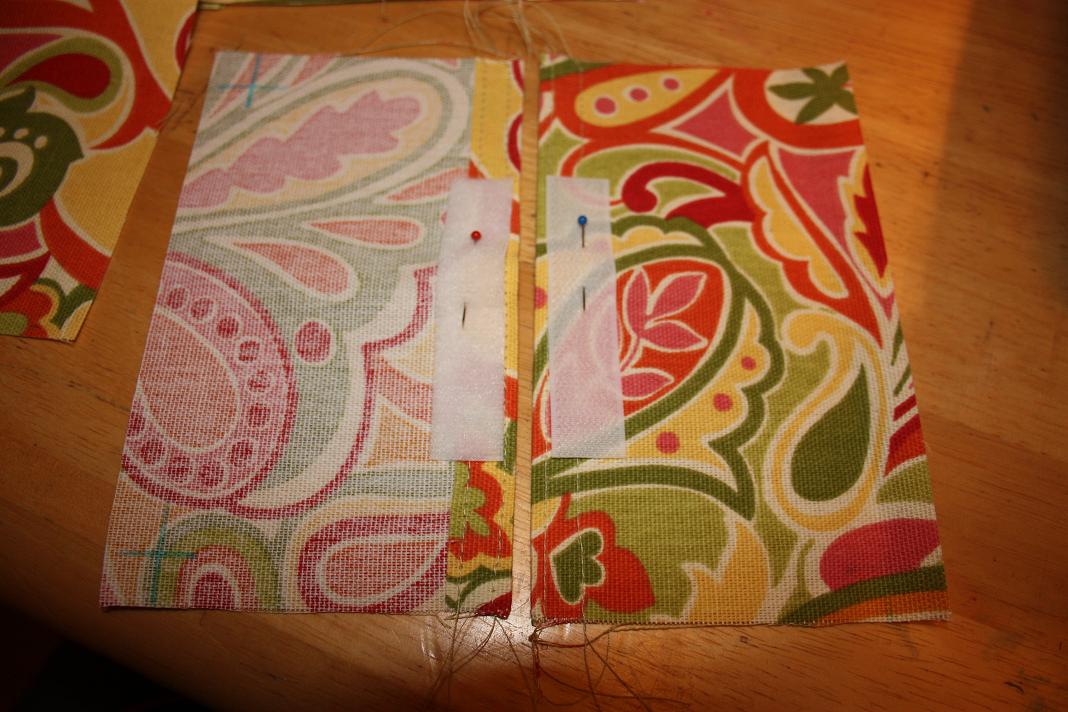
Stitch velcro in place.
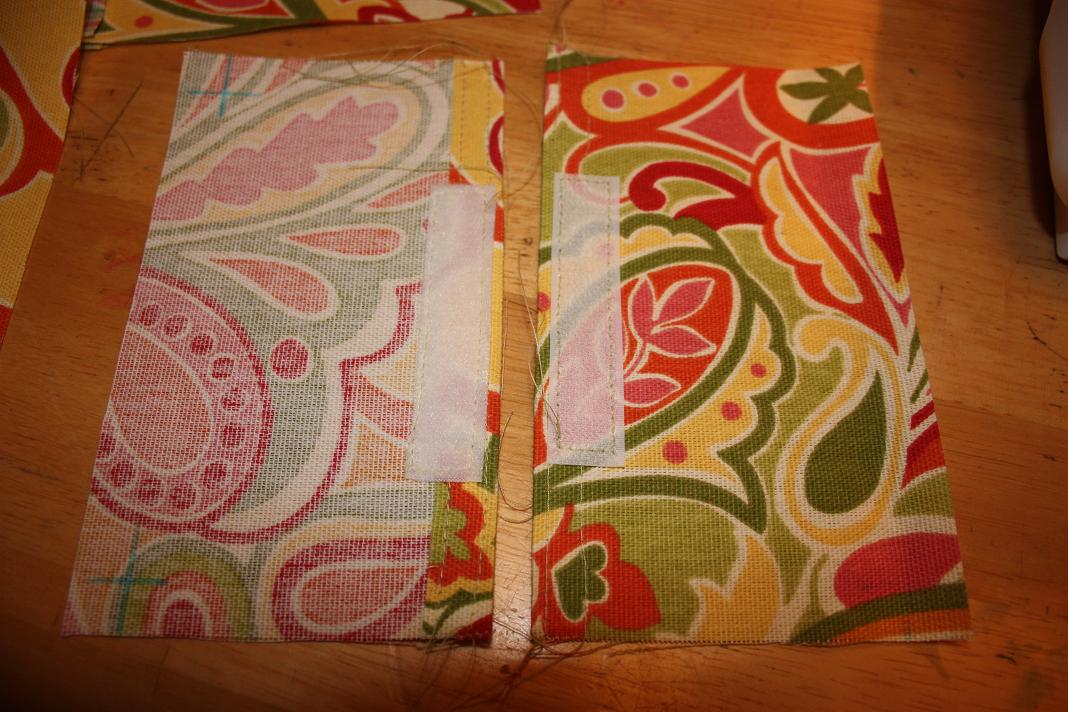
Trim threads. Take congratulatory sip of adult beverage and set bottom pieces aside.
Take the handle piece with pressed edges, and fold wrong sides together, matching the folded edges. Press.


Stitch close (about 1/8”) to the matched folded edges, then stitch close to the pressed edge.
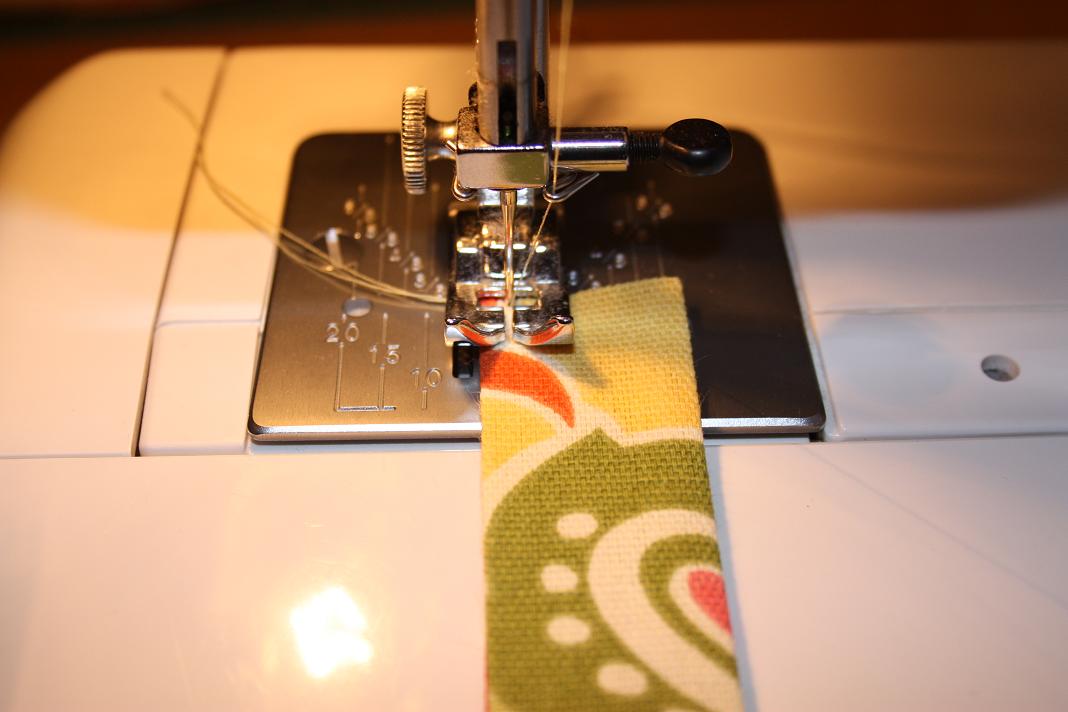
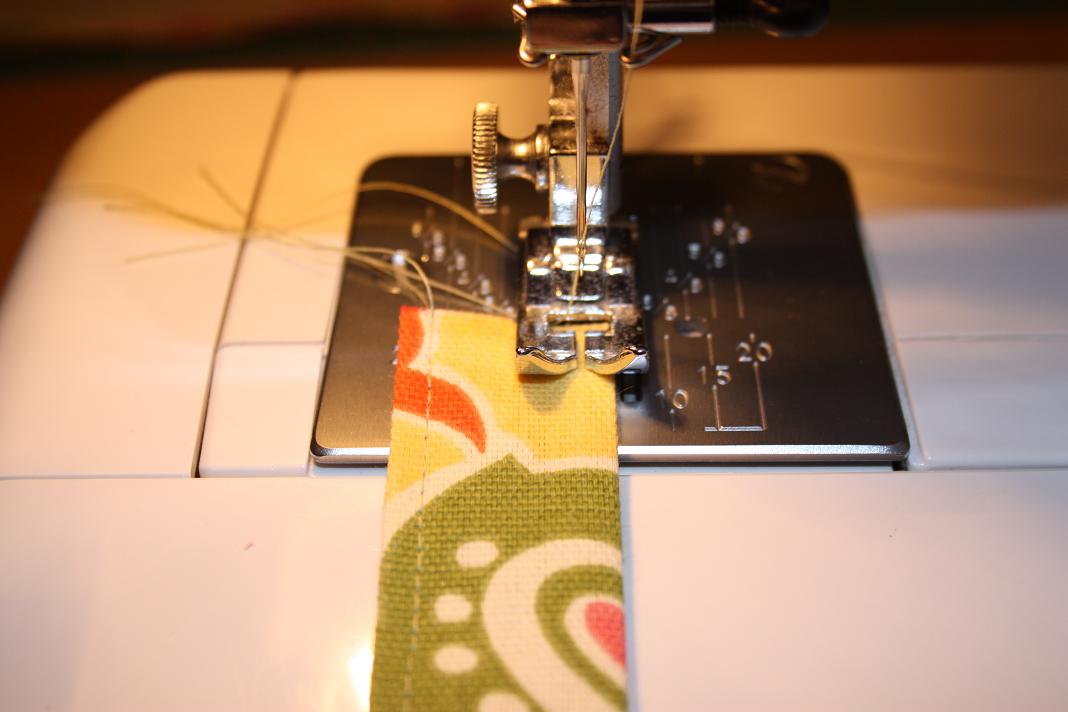
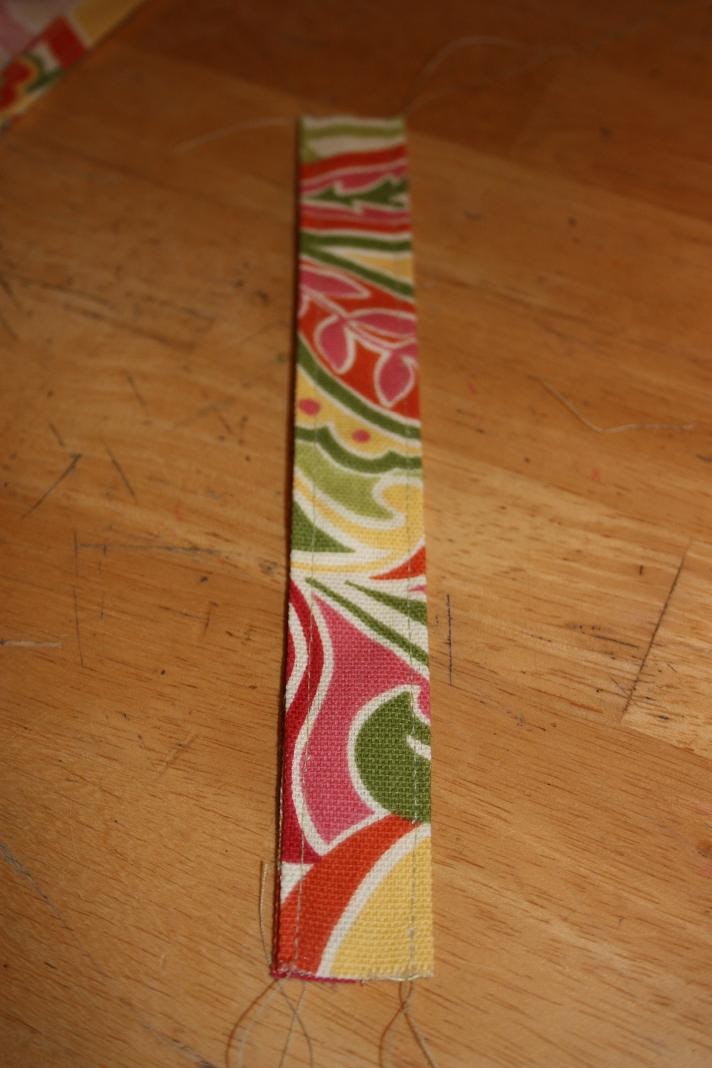
Another congratulatory sip of beverage, and set aside handle.
Step 5:
If you have a cutting mat and ruler, it will make this step easier. If not, enjoy a good bit more beverage, then get out your ruler. You want to use your fabric marking pen to mark ½” line from all four corners of the squares, as pictured here. (You can actually mark the full length of the edge and use that line as a stitching guide)
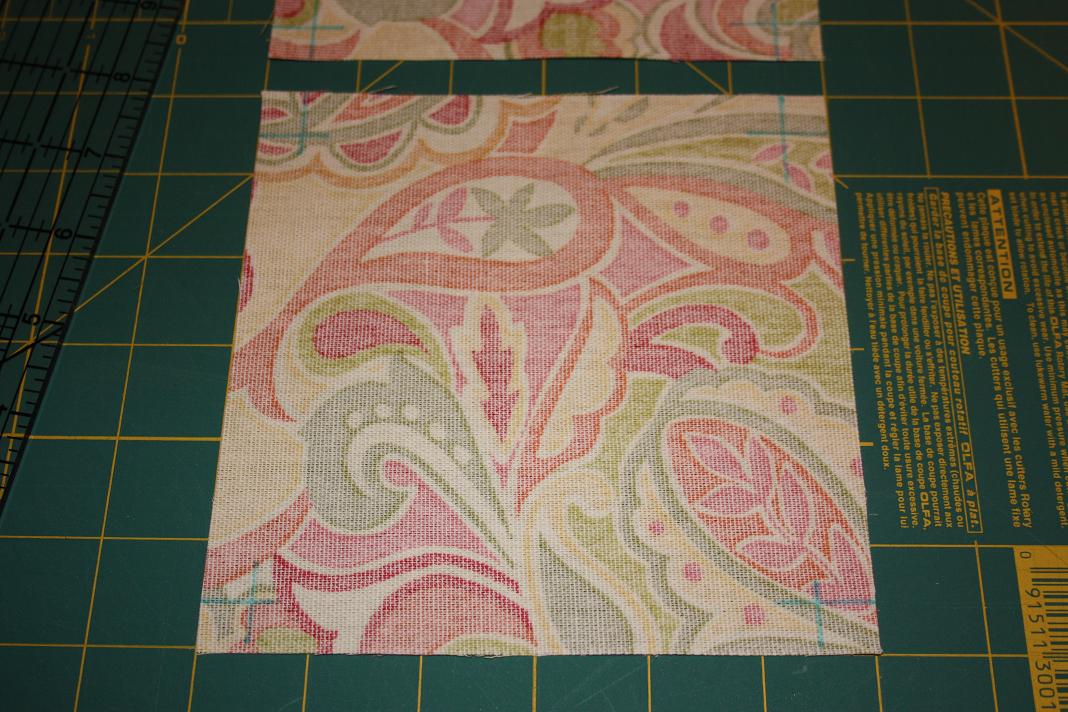
The best way to accomplish this is to draw a line ½” from the left and right raw edges, then, turn the square and mark the perpendicular edges.
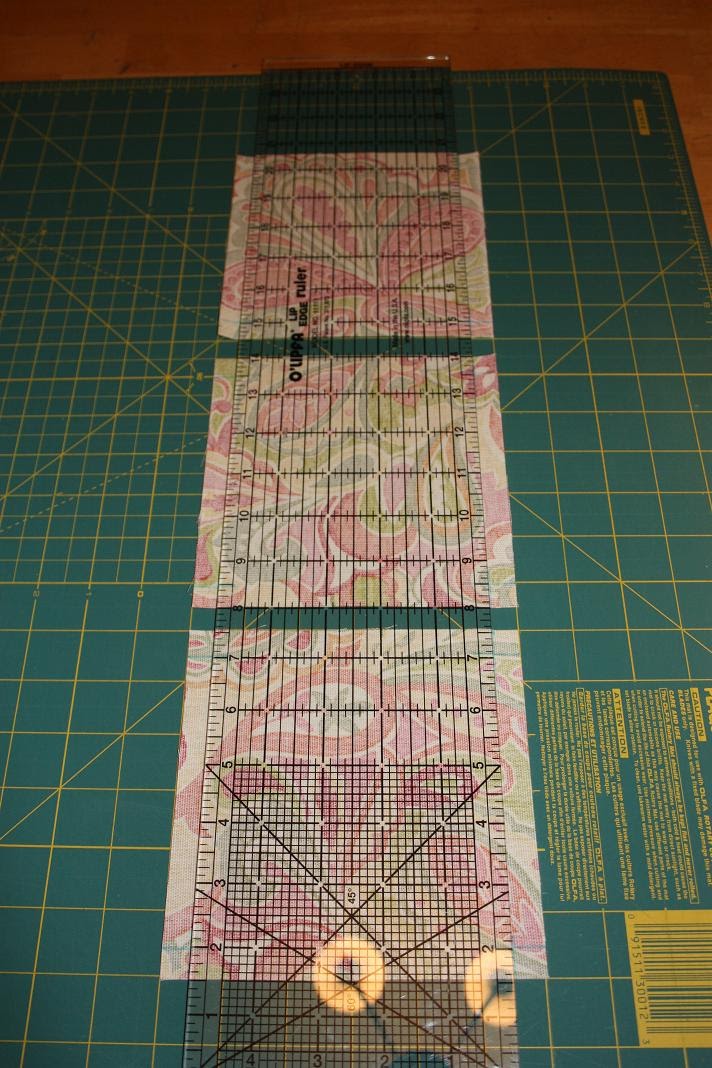
The important part is to ensure that your lines cross leaving a ½” square in each corner of each square. You will use these as your stitching guides, so make sure you can clearly see where your marks cross. You’ll also want to mark ½” corners on the raw edges of the two bottom pieces. (pictured below before I added the Velcro)
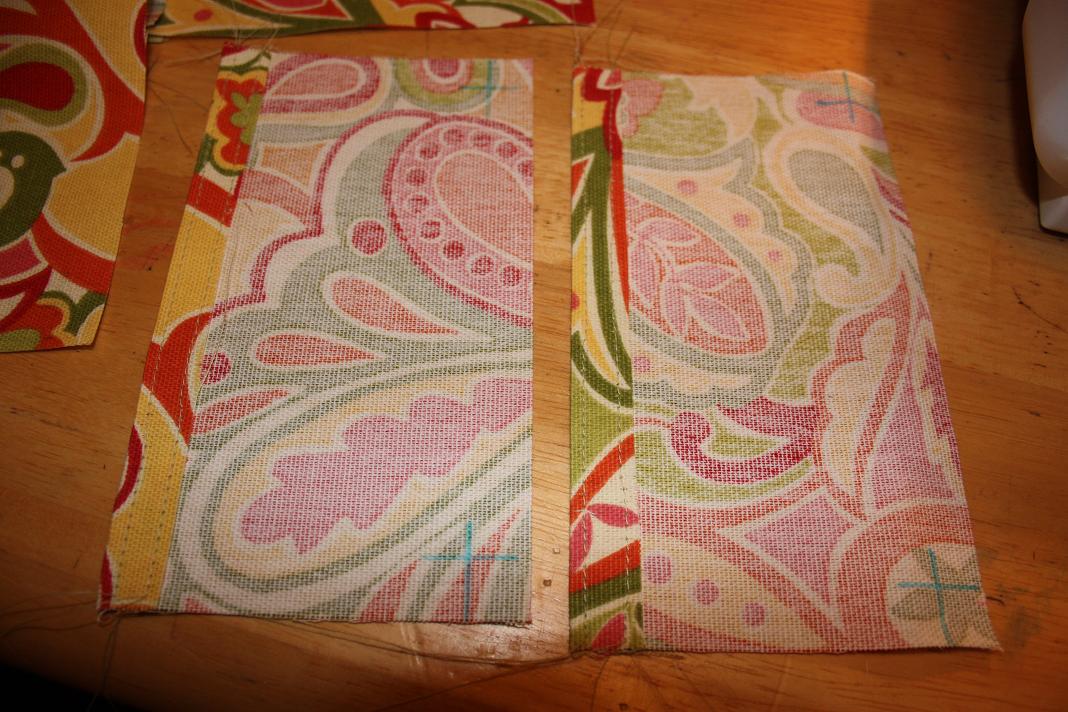
Feeling the need for more beverage?
Step 6:
Time to assemble the cube! (I’ll wait while you drink up the courage…..)
Lay one square on top of another, right sides together. Pin one raw edge.
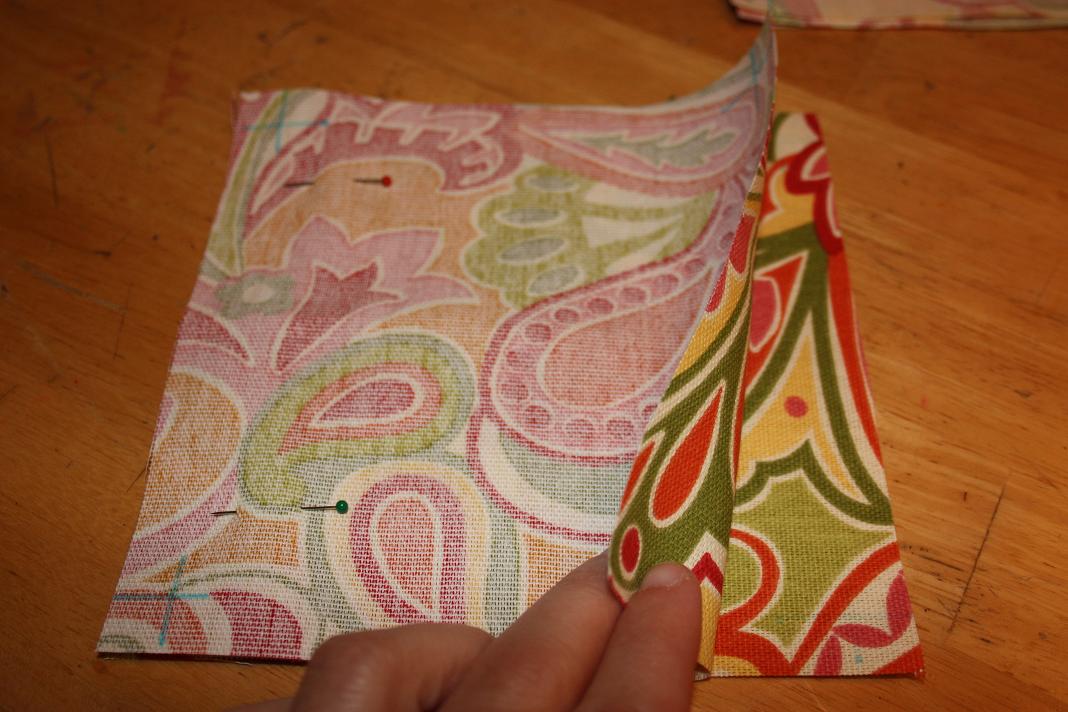
Put the needle down at the point where the top two lines cross.

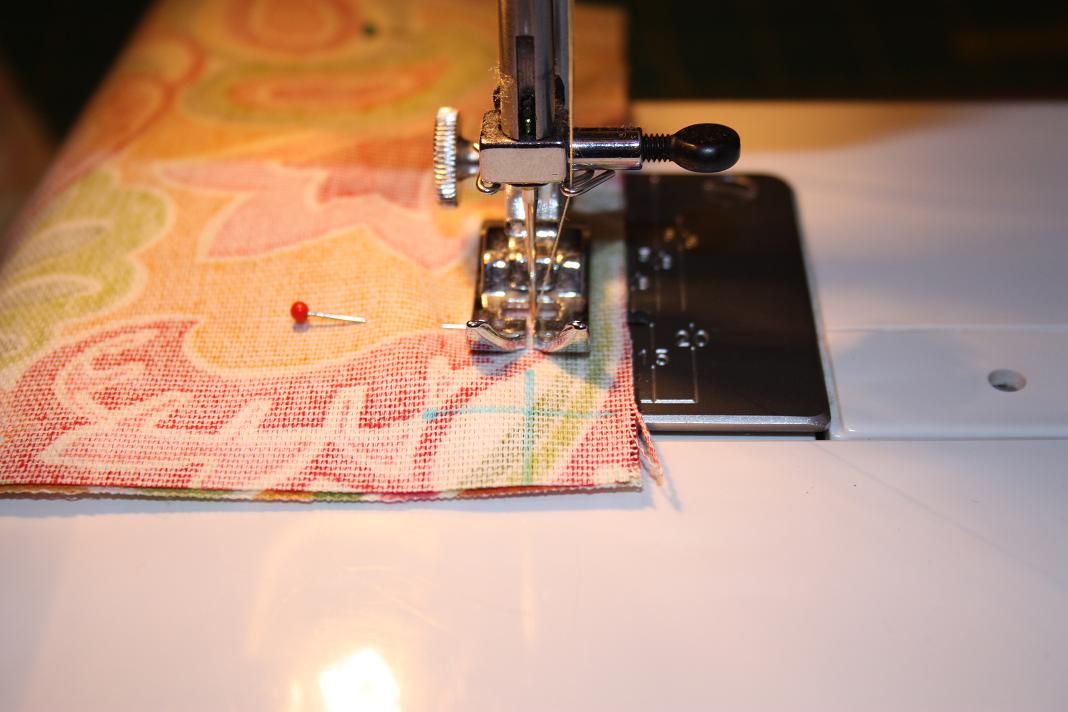
Not so bad, right? Now let’s add another side. Take one square and place (right-sides together) ontop of one panel of the newly attached squares.
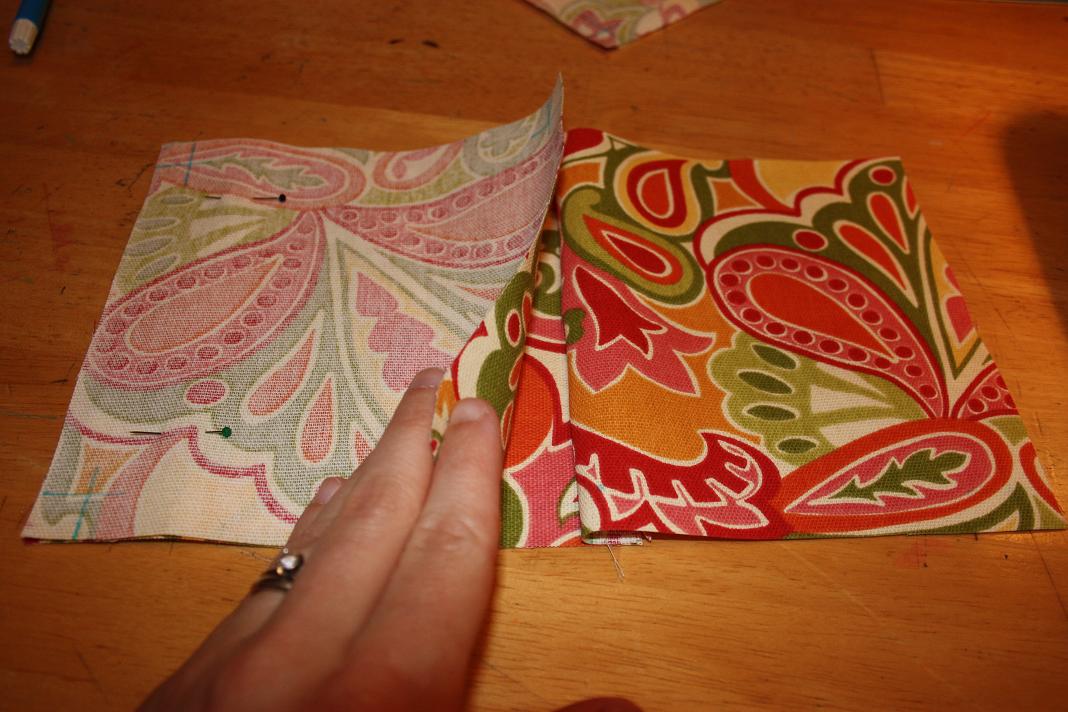
Pin the raw edges together and stitch, just as you did for the previous squares – beginning at the top cross point and ending at the bottom cross point. Then, add the fourth panel in the same manner.
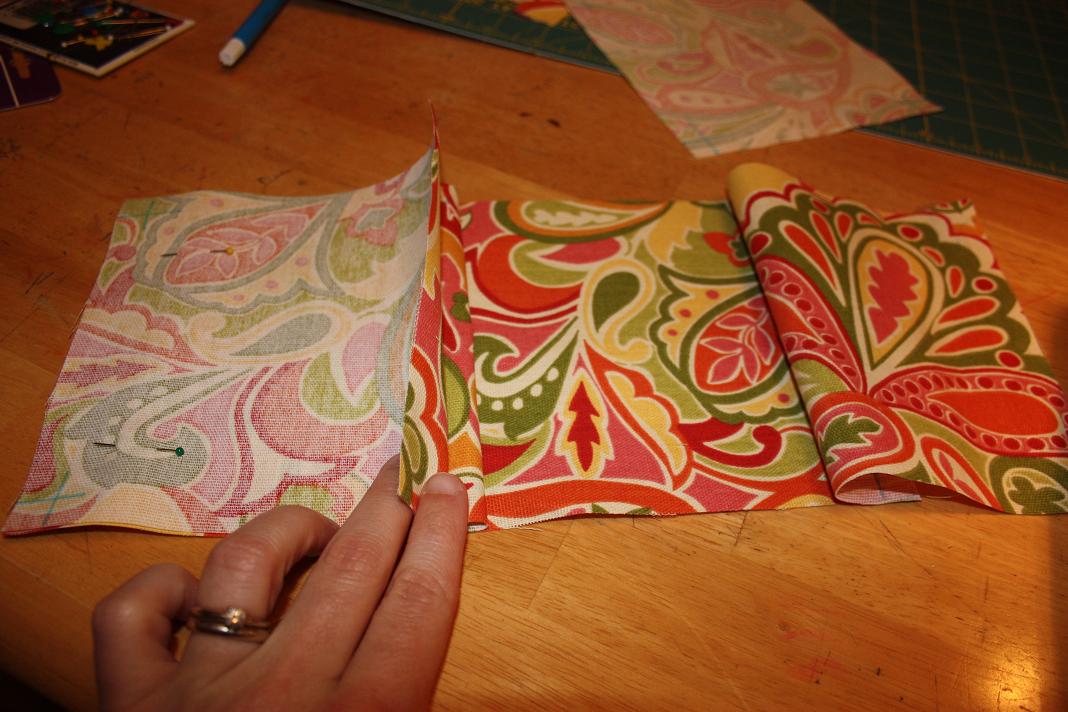
Pin, stitch (cross point to cross point) and unfold to see your beautiful work! I’m sure a victory sip is in order.
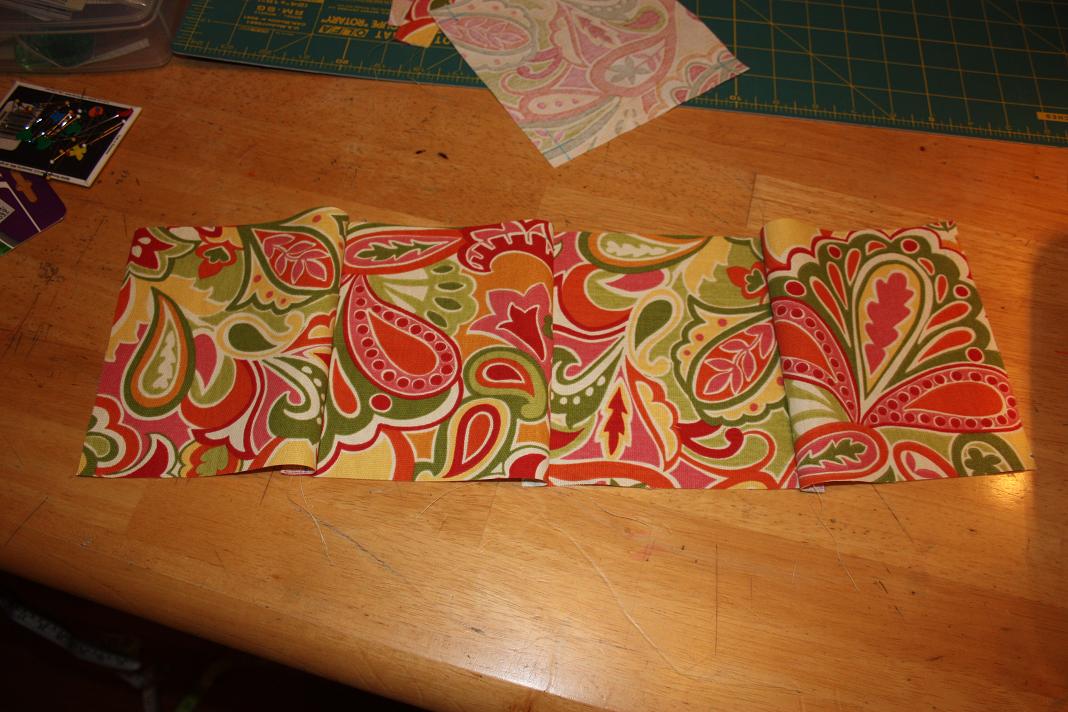
Step… Umm, 7? (Too much beverage)
Time to add the top and bottom of the cube. Feeling super confident now, I’m sure.
Lay the four attached side panels flat, right sides up. Take the final remaining square and lay flat on top of second panel and pin in place.

Make sure you are lining up the raw edges of the two squares, doing your best to ignore the attached side panels. A close up look at the raw edges should look something like this:

The side panel will be out of the way, and – since you stitch cross point to cross point – it won’t get in your way. Don’t think about it too much, just stitch. It’ll be fine.
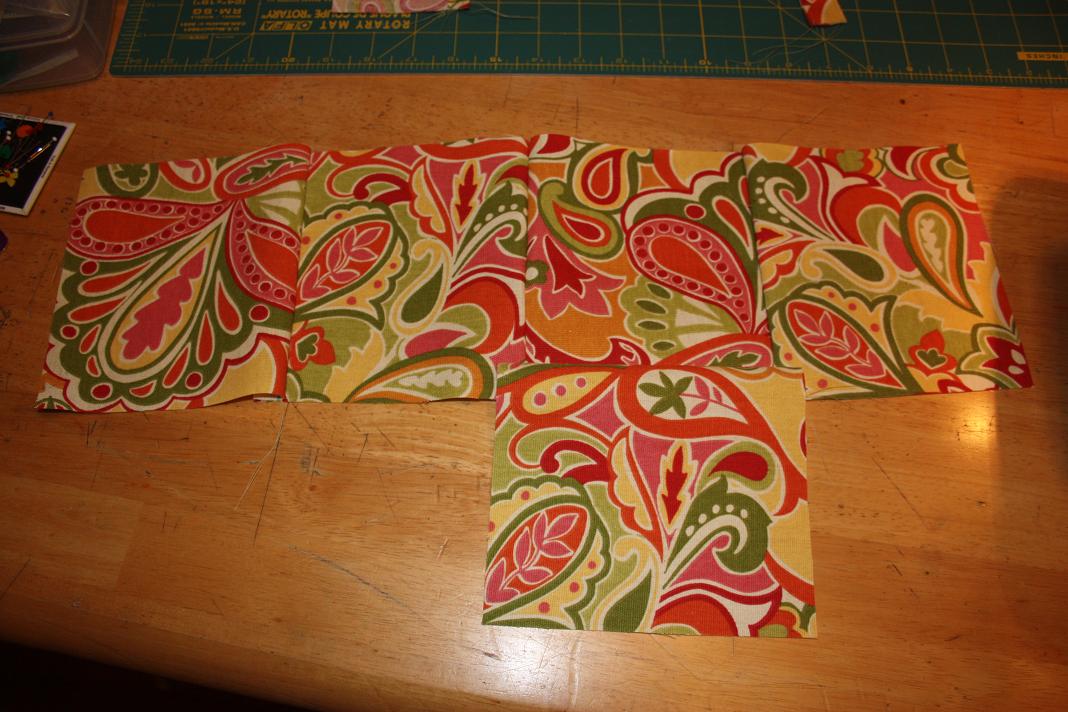
See? Fabulous. Now for the bottom panels. (You may want to consider a refill on the beverage now.)
Step 8:
Start with the bottom panel on which you sewed Velcro to the wrong side of the fabric. Working on the raw edge of the square opposite from the top of the cube (the piece you added in Step 7) pin the bottom panel to the square, right sides together, raw edges and corners aligned.

Next, take the remaining bottom panel (Velcro attached to the right side of the fabric) and pin it to the same square, raw edges and corners aligned. It will overlap the bottom panel you’ve already pinned in place. Ideally, the Velcro pieces will be so well aligned, they’ll stick together perfectly. Which will be annoying if you need to reposition the panel, but less annoying that trying to sew the Velcro on in a later step. (Speaking from experience. I consumed a lot of beverage during that adventure.)

Pin that panel in place and stitch – cross point to cross point – being careful to keep the overlap area flat as you stitch over it.

Now, it should look like this crazy thing:

If yours looks like this – Hooray! If not, curse me for getting you into this mess, swig from beverage, and call me in the morning.
Step 9:
Now we pin the sides of the cube together. ( Side note: Looking at the image above gives me some chilling flashbacks to high school Geometry.) Begin with the single panel that extends off the panel on which you attached the top and bottom panels. Fold up the two perpendicular raw edges, matching raw edges and corners, and pin in place.
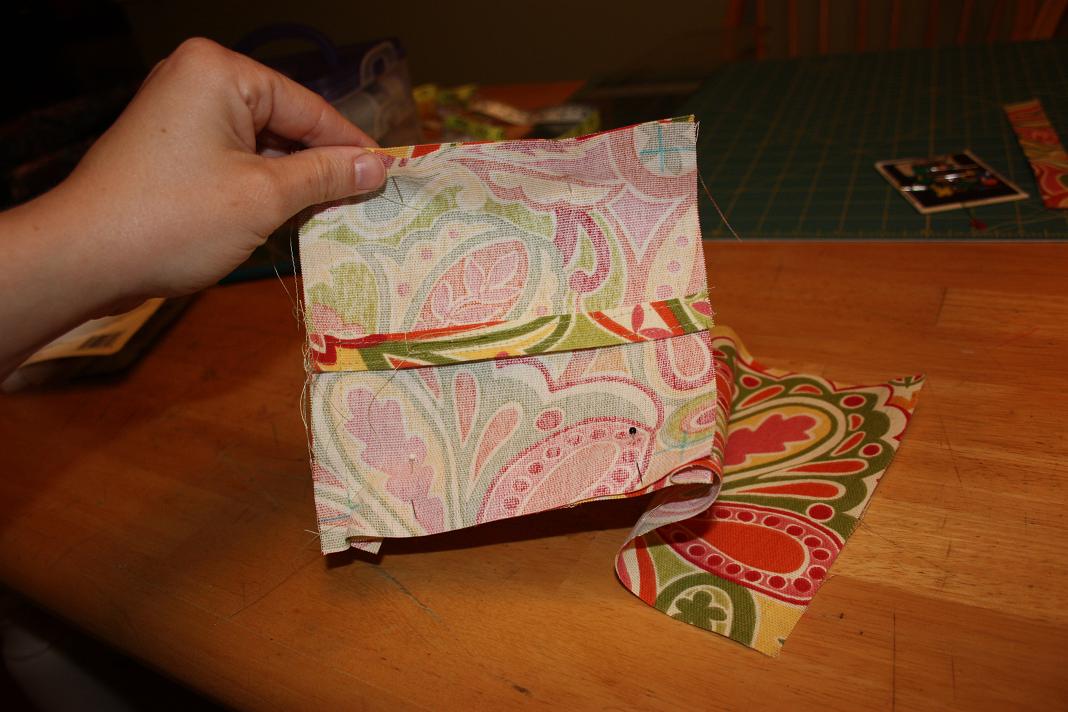
Continue pinning perpendicular edges, matching raw edges and corners. You should end up with something like this:
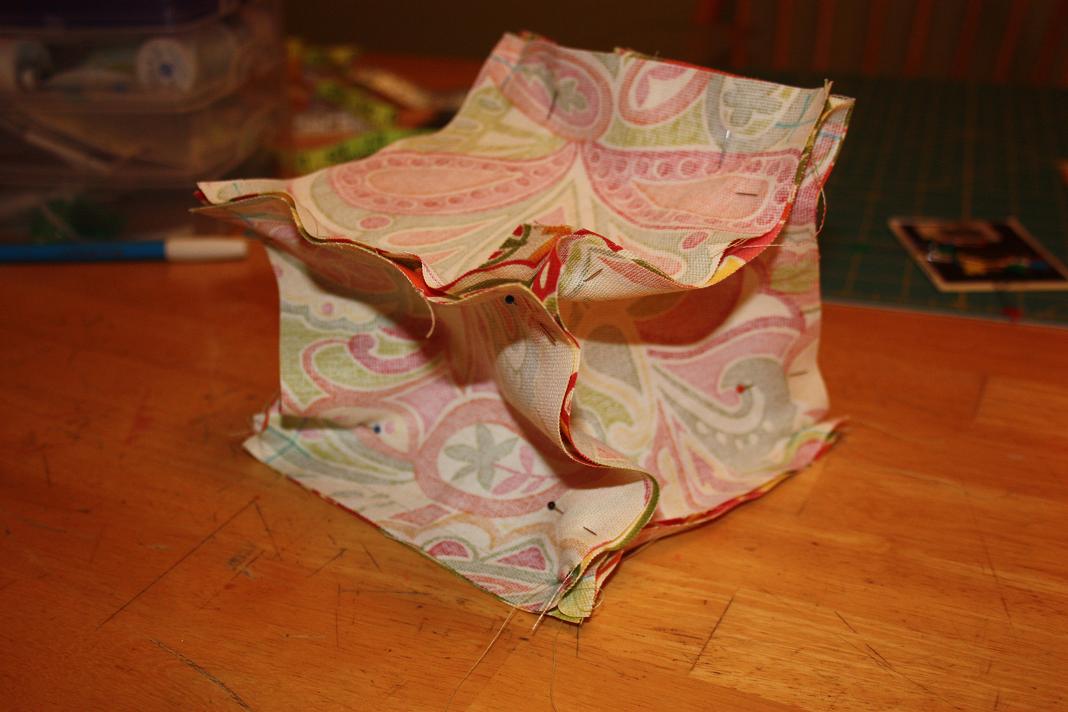
Now, locate the bottom overlapped panels and orient the cube so that the bottom is on the bottom and the top is… yes. On the top.
Step 10:
Slide the handle through the gap in the saw edges between the top and side panel of the cube.
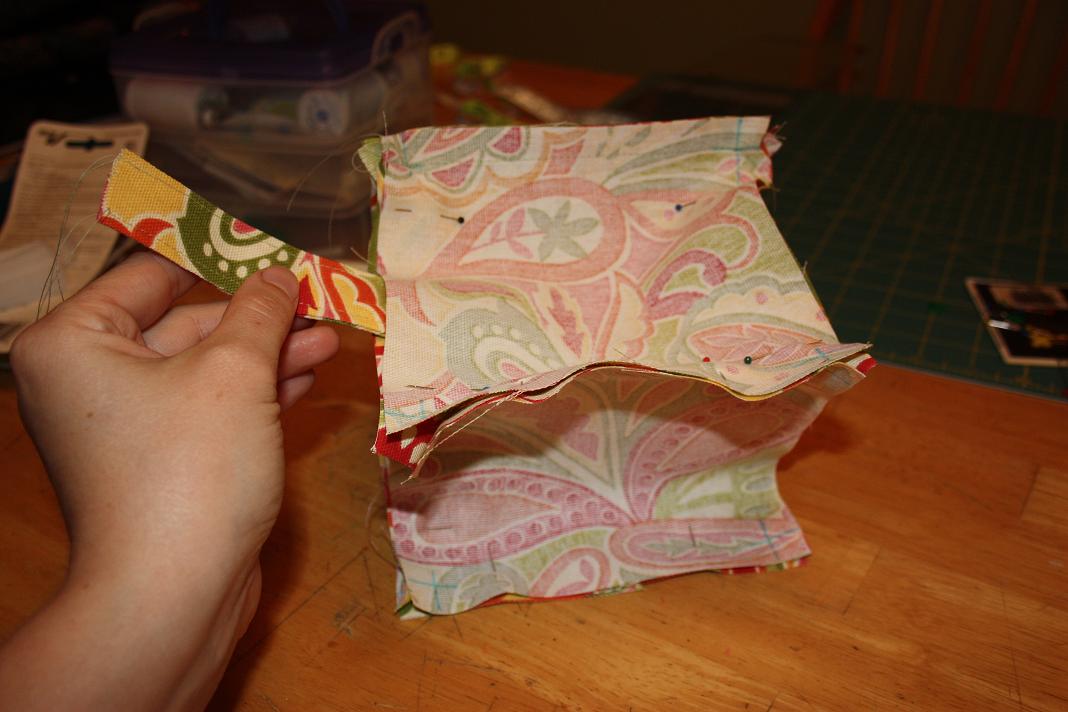
Reach through the opposite side gap and pull the handle through.
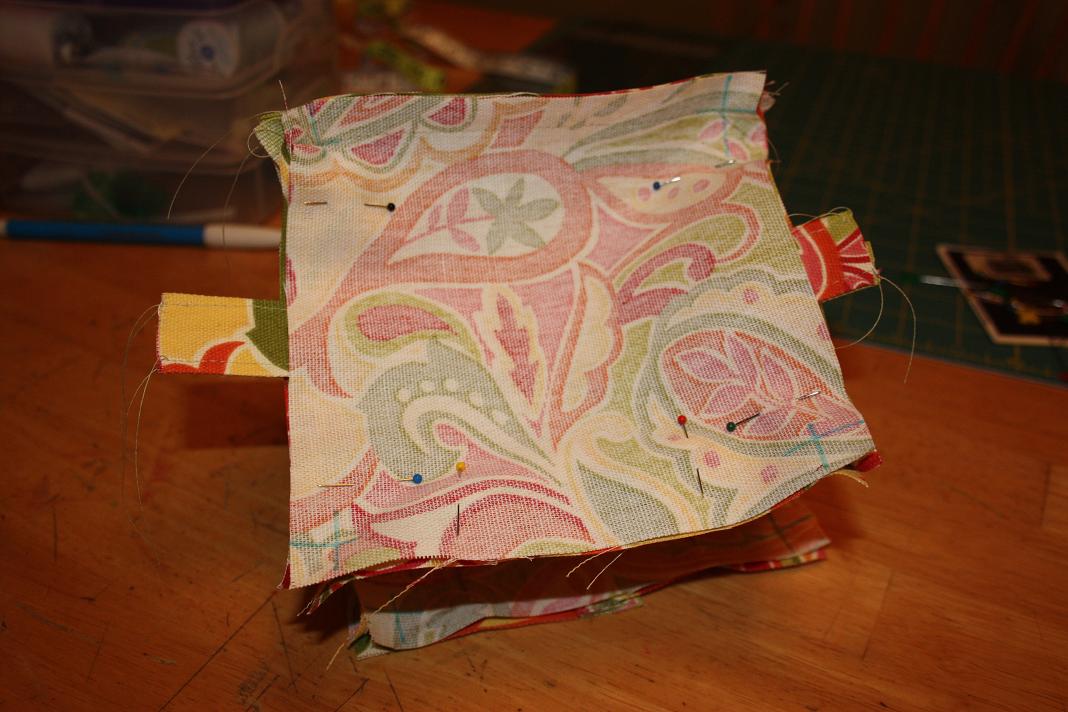
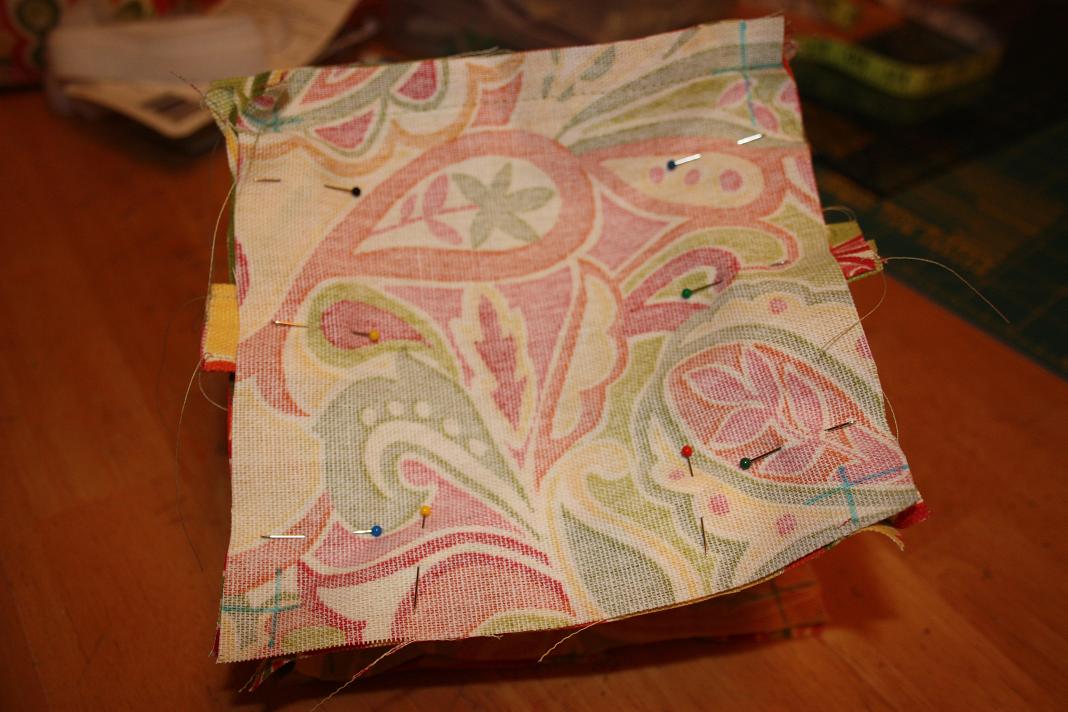
Center the handle along the width of the side panels. You could use a ruler and measure precisely where the handle should go, but let’s be serious here. Push the excess of the handle inside the cube so that only about ¼” remains exposed through each side gap. Pin handle in place.
Step 11:
Deep breath, liquid courage, and let’s sew! Working from cross point to cross point, stitch together all remaining sides. Pay careful attention to the handle edges – I even backstitch to reinforce the handle, but then, I’m fancy and super attentive to detail. Or haven’t you noticed? Once you’ve sewn all the sides up, double check you haven’t missed any. After all, you are on your second (third?) beverage by now. If you’re sure you’ve stitched up the side, remove all your pins. Now you can use your pinking shears (or regular scissors) to trim the excess seam allowances and handles. It will look like this:
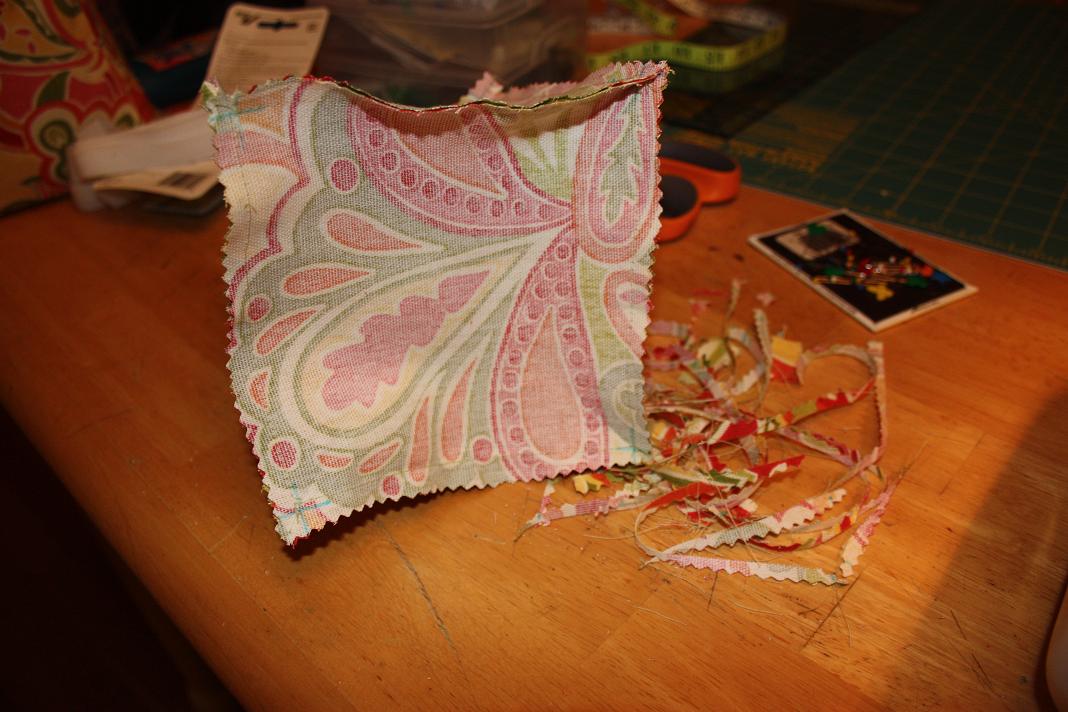
Locate the bottom panel with the Velcro opening and turn your cube right-side-out through the opening.
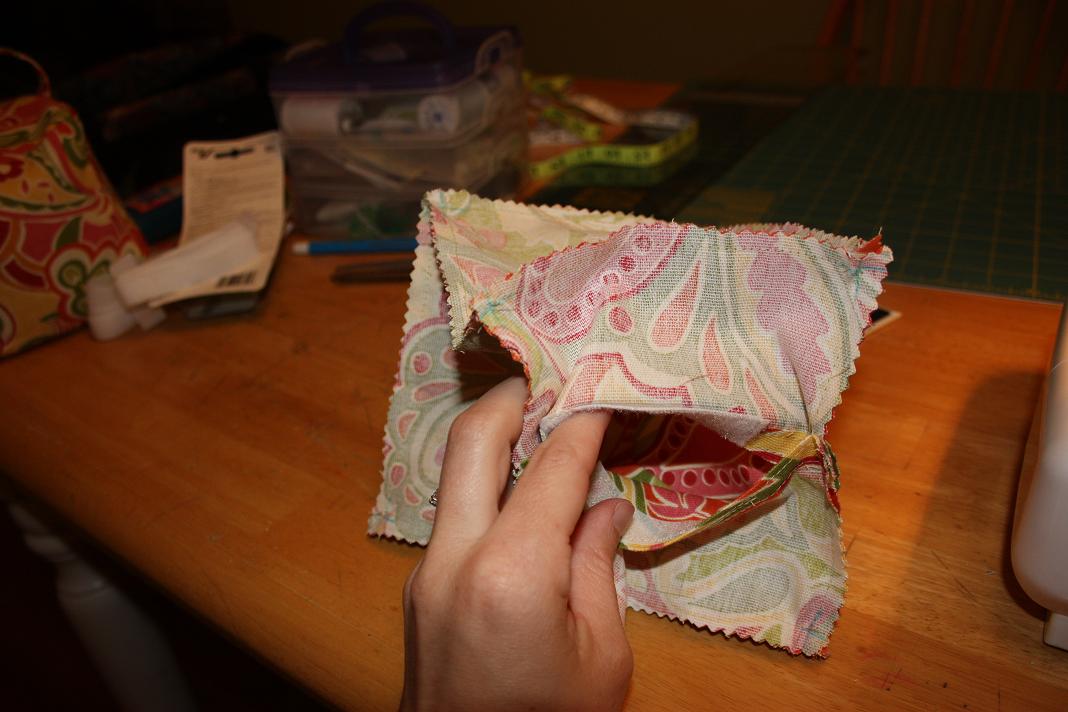
Push out all the corners and smooth the side seams…. Voila! A doorstop!

Now, fill the doorstop with your choice of stuffing. For the Teacher Appreciation Week project, we needed the doorstops to be pretty dang heavy, so we insterted a ziploc bag into the doorstop and filled it with river rocks and sand. They ended up weighing around 8 lbs. That amount of weight does put a lot of strain on the handle, however. Bonus: the ziploc bag makes it easy for teachers to remove the cover for washing (or add more rocks if the ridiculously heavy doors still
won't stay open. Seriously, how strong does an elementary school kid have to be to open a classroom door?) If your doors aren't made of lead, I would recommend using approximately 4 lbs. of dried beans. Kitty Litter and dry rice are other good alternative stuffing materials.
Enjoy making these little guys for your friends and family. And teachers. And neighbors. And casual acquaintances. Really. They're addictive....
Epilogue: A few things I've observed since creating this tutorial and posting it here.
1) I need to move "refinish kitchen table" closer to the top of the project list. Woof.
2) It might be easier to attach the top and bottom panels to the first side before adding the other sides.... perhaps a tutorial revision is in order already?
3) I find myself way too entertaining late at night. Sorry.
4) This tutorial is great for making baby blocks! Drop the handle, use cute contrasting fabrics, ric-rac, and ribbon. Put a bell inside. Appliqués.... I could go on, but I'll save it for the next tutorial. Oh, and don't fill them with 4 lbs. of beans. Try batting instead. Unless you're sewing for Superbaby.